After two years in our home we still have lots of empty wall space. Buying art just doesn't seem to be a priority. Plus finding something both my husband and I agree on can be nearly impossible. One day while watching TV (Longmire, I think), I saw that the show's living room had empty frames on the wall as art. I thought it was a fantastic and ecomnomical idea. So I set about making it work for my space and convincing my husband that my wacky idea was a good one. The example I saw on the TV just had three large frames painted three different colors. My husband was not a fan of the tri-color idea, but he was open to the general concept.
I set about keeping my eyes open for frames at flea markets, garage sales, thrift stores etc. I found three decent sized frames for $3 each and then raided the frame section at the thrift store during their 1/2 off sale. I ended up with 7 frames of varying sizes and shapes for less that $15. I really should have taken a picture of them all before painting, but I got so excited to start I forgot.
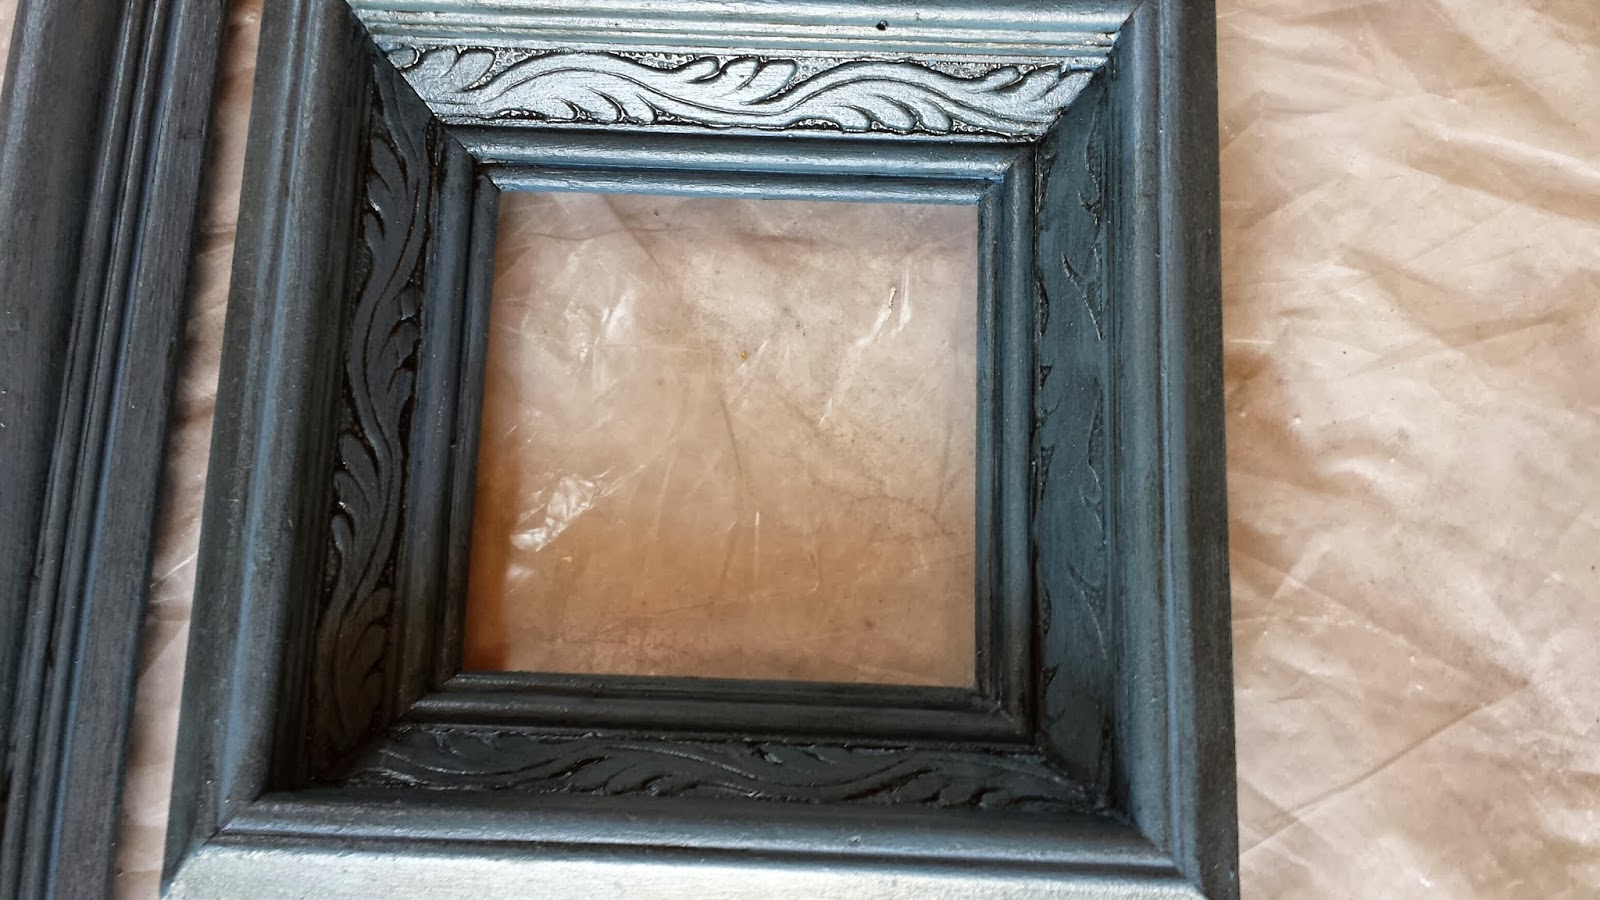
Now the fun part. I primed them, I like to use Zinsser 123 primer. It sticks to just about anything without sanding. Super helpful for making projects move along faster especially since some of my frames had shiny finishes. And there they are.
Next I painted them using the left over paint from our sun room, tying the color from there into the living room. If you are going to buy paint for this project, I would consider spray paint. This would have gone much faster with spray paint, but I wanted to use what I had on hand. Mine needed two coats of paint. You could stop here if you wanted, but some of my frames had details that I wanted to highlight so I rubbed them down with Valspar's antiquing glaze. I have no magic solution for getting this right. Just rub it on and off until you get the effect that you want. I like a more subtle effect but you could go crazy with it if you want. Here is my favorite frame with this treatment
Since these are just going to hang on the wall and not be handled, I didn't bother to put a coat of clear coat on them.
Next was arranging them. I traced each frame onto either wrapping, tissue or office paper and cut them out. Then I hung these templates on the wall so that I could move them around and be sure about their placement.
Once I was sure, I marked on the paper where the hangers on the frame would be so that I could get my nails in the right spot. I nailed through the paper and then pulled the paper from the wall. This worked phenomenally well.
And here they are on the wall. One less blank wall staring at me and for less than the cost of one small peice of art.


No comments:
Post a Comment