Wednesday, October 23, 2013

Upcycle a Frame into a MItten Rack

So it is late October, and here in Wisconsin, that means winter snow could be just around the corner, and that means wet, soggy gloves and mittens.  Our house is a beautiful arts and crafts style 90 year old home.  I love it!  I would love it even more if it had a mud room.  Alas,  I just have the side entrance which really just opens into the stairwell.  There is not a lot of room.  We have made good use of the space.  There are hooks for coats and pants and bags and a vertical shoe rack on one of the walls, but there really hasn't been a good place to hang those soggy gloves so they are dry and ready for another day of snowball fights in the morning... until now!


You will need:
Frame
ribbon
screw driver
drill
staple gun

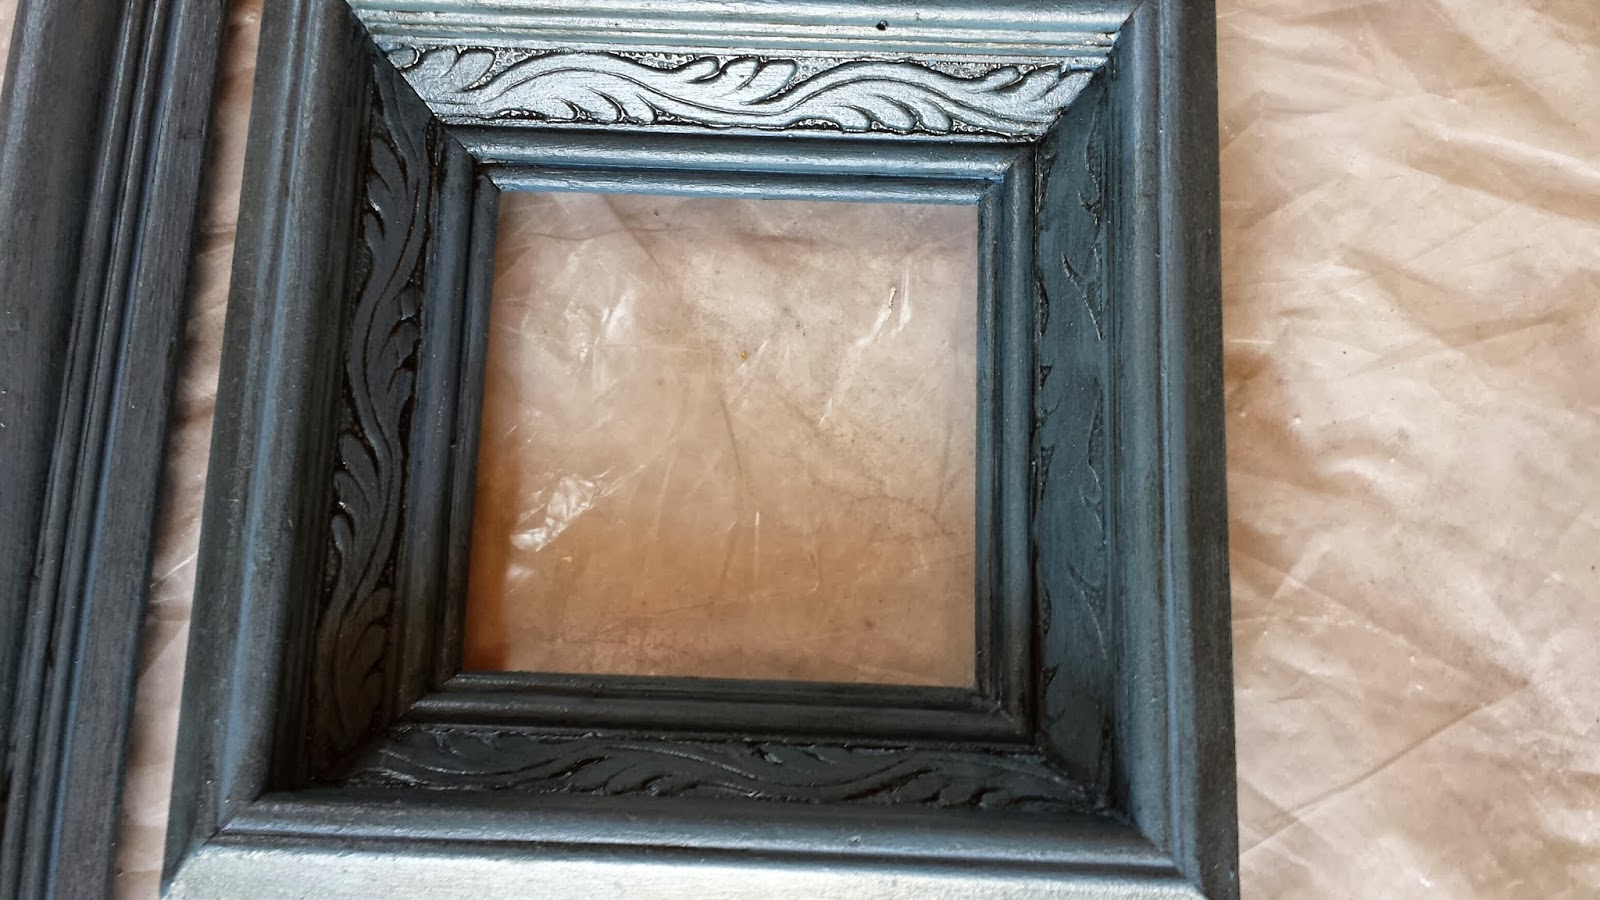
This was so ridiculously easy and took less than an hour.  Probably more like 30 minutes.  I found this frame from at the thrift store for $1.50.  This frame is relatively thick. It sticks out from the wall about 1.5".  If you do this, you'll want to look for one about that thick or thicker, so you will have room to get the clothes pins on and off easily.


First you will want to reomve the wire and the d-rings the wire is wrapped around.  Throw away the wire but hang onto the d-rings and screws.  You will need them later.  I thought about painting this, but there is a lot of natural wood by our side entrance and it matched pretty well.  In truth, I was feeling lazy this day.  If you are feeling more industrious go for it and make it your own

Figure out how many rows of ribbon you want.  I opted for three, one for each person in out family.  Plus it seemed to be about the right spacing. Next flip the frame over and take some ribbon and staple it to the inside part of the frame.  I used inch wide gross grain ribbon because it is what I had laying around the house. This could be super cute with different colors of ribbon.  It would probably work with thinner ribbon as well. Just make sure it is wide enough for your staple to grab onto. You want to put the ribbon in the groove farthest from the back of the frame.  I had to put my staples angled toward the outside of the frame so they would not stick out the front. This meant I had to put my frame against the wall so that there was enough resistance for the staples to go all the way in.  Pull it tight and staple it to the other side. I cut ribbon longer than it needed to be so I would have enough leverage to really pull it tight.  It needs to be tight!  Do this with all your ribbons.

Next you are going to reinstall those d-rings you held on to.  You want to put them so they are on the sides of the frame, at the top but not poking above the top of the frame.  Drill some pilot holes and then screw them back in.

And you are done.  Hang that bad boy on the wall with some picture hangers (make sure to measure and level so it goes on easily), grab some clothes pins and you have a place to dry those gloves.


Friday, October 4, 2013

Empty Frames as Wall Art

After two years in our home we still have lots of empty wall space.  Buying art just doesn't seem to be a priority. Plus finding something both my husband and I agree on can be nearly impossible.  One day while watching TV (Longmire, I think),  I saw that the show's living room had empty frames on the wall as art.  I thought it was a fantastic and ecomnomical idea.  So I set about making it work for my space and convincing my husband that my wacky idea was a good one.  The example I saw on the TV just had three large frames painted three different colors.  My husband was not a fan of the tri-color idea, but he was open to the general concept.

I set about keeping my eyes open for frames at flea markets, garage sales, thrift stores etc.  I found three decent sized frames for $3 each and then raided the frame section at the thrift store during their 1/2 off sale. I ended up with 7 frames of varying sizes and shapes for less that $15.  I really should have taken a picture of them all before painting, but I got so excited to start I forgot.

Now the fun part.  I primed them, I like to use Zinsser 123 primer.  It sticks to just about anything without sanding.  Super helpful for making projects move along faster especially since some of my frames had shiny finishes. And there they are.


Next I painted them using the left over paint from our sun room, tying the color from there into the living room.  If you are going to buy paint for this project, I would consider spray paint.  This would have gone much faster with spray paint, but I wanted to use what I had on hand.  Mine needed two coats of paint.  You could stop here if you wanted, but some of my frames had details that I wanted to highlight so I rubbed them down with Valspar's antiquing glaze.  I have no magic solution for getting this right.  Just rub it on and off until you get the effect that you want.   I like a more subtle effect but you could go crazy with it if you want.  Here is my favorite frame with this treatment

Since these are just going to hang on the wall and not be handled, I didn't bother to put a coat of clear coat on them.

Next was arranging them. I traced each frame onto either wrapping, tissue or office paper and cut them out.  Then I hung  these templates on the wall so that I could move them around and be sure  about their placement.


Once I was sure, I marked on the paper where the hangers on the frame would be so that I could get my nails in the right spot. I nailed through the paper and then pulled the paper from the wall.  This worked phenomenally well.

And here they are on the wall.  One less blank wall staring at me and for less than the cost of one small peice of art.